
|
|
|
|
#1 |
|
Участник
|
powerobjects: How to Create an Auto Number Without Code!
Источник: https://www.powerobjects.com/2017/12...-without-code/
==============  Sometimes if you only have a basic need for an AutoNumber on a record, you may want to implement your own quick process that is controlled by a custom entity, two fields on the entity you want to add the number to, and a workflow. Once in place, you can put a basic number on any entity you would like (custom and out of the box) and more than one number in an entity. Note: for more complex auto numbers including prefix and suffix, we recommend use the PowerObjects PowerPack add-on PowerAutoNumber.  Let’s look at creating a new contact record where we have updated the contact entity to hold our AutoNumber. When you create your new contact record, an “on creation” workflow is triggered. The workflow is in three parts and does the following:
Stage 1. The Custom Entity First, we need to create a Custom Entity. If you need a few pointers on creating custom entities, check out this guide in The CRM Book. 1. Let’s call our custom Entity “AutoNumber”
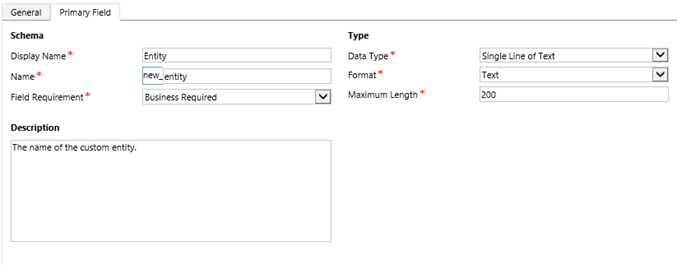 2. All you need to create this is one additional field. We’ll call it “Value” but be sure to choose something that works for you – this should be a whole number.  3. Add that Field to the form. 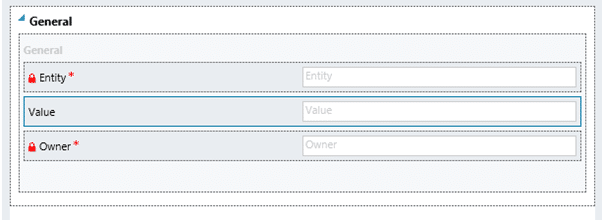 Stage 2. Creating the Fields in the Contact Record We need to prepare the Entity where we want to populate the number, so in this example we’ll use the contact entity. 1. Create a lookup field called “Contact_AutoNumber” and link that to the AutoNumber Entity.  2. Create a Whole Number field called “Contact#”  3. Add the 2 fields to a form.  Important:
Before you do this step, you will need to publish your changes. You can then create a record in AutoNumber for the contact. 1. Call the Record “Contact AutoNumber” 2. In the value field put in the starting number. This could be 1 or 100,000 – it is your choice. 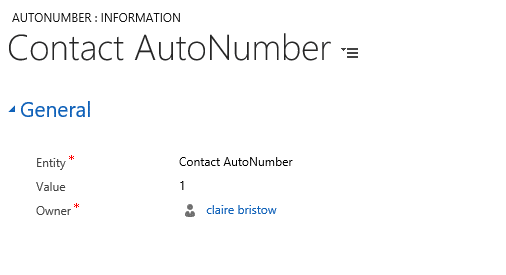 Things to consider:
Create the workflow to make everything work. The workflow isn’t too complicated so even if you are new to them you should be able to continue. 1. Create your workflow called “Contact AutoNumber” against the contact record as a Real-Time Workflow. 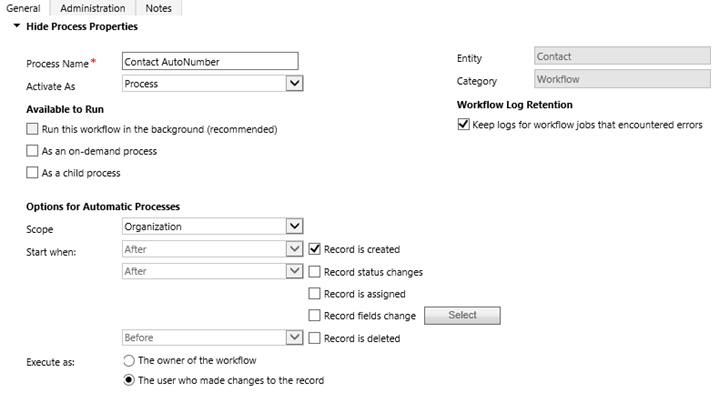 2. Line 1 – Update Contact Record
 3. Line 2 – Update Contact Record
 4. Line 3 – Update the AutoNumber Record
 5. Your workflow is good to go and can be saved and activated! 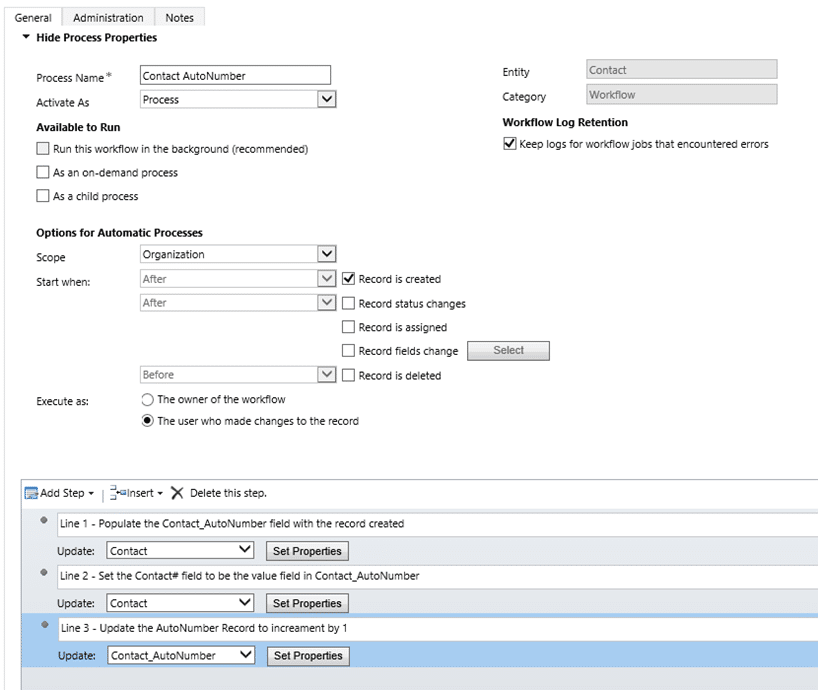 Important things to remember:
1. Create a new contact record.  2. Then create another one.  3. Have your numbers pulled through?   Hopefully you have an idea on how this process works. If you wish to create an AutoNumber in more than one entity just repeat stages 2 – 5. Stage 6. Extras Now that everything works, you may want to do a little housekeeping.


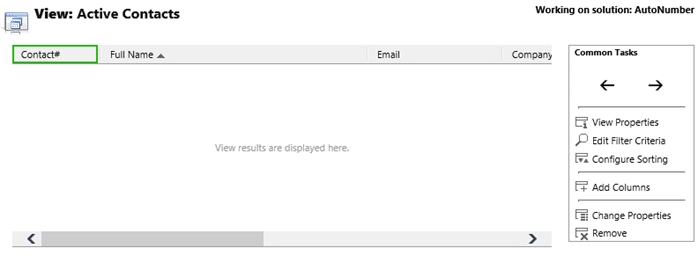 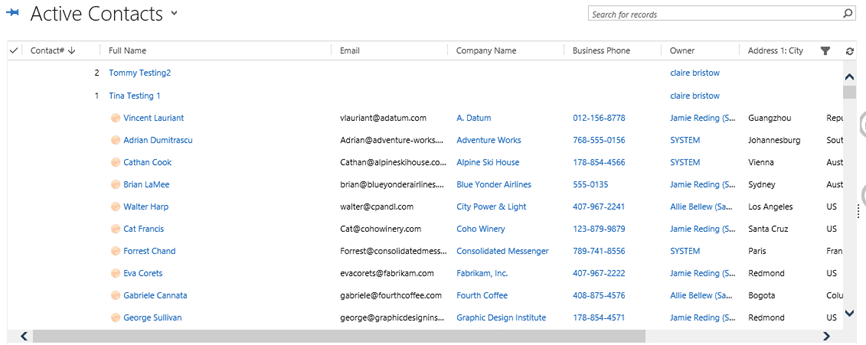
 
  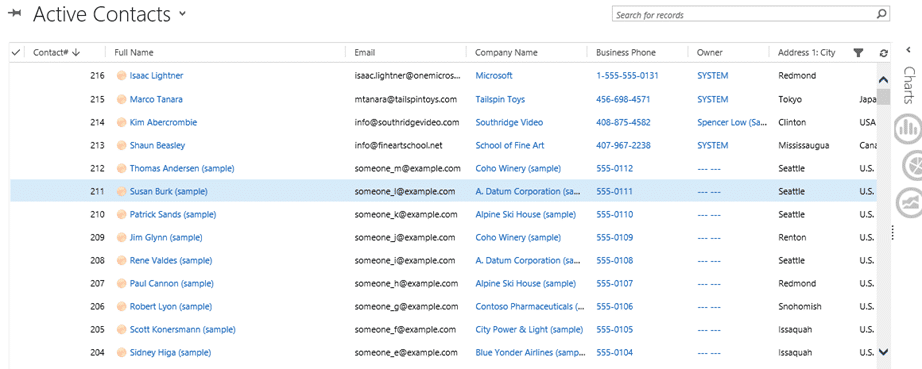 Get more helpful Dynamics 365 tips and tricks by subscribing to our blog! Happy Dynamics 365’ing! Источник: https://www.powerobjects.com/2017/12...-without-code/
__________________
Расскажите о новых и интересных блогах по Microsoft Dynamics, напишите личное сообщение администратору. |
|
|
|
|
| Опции темы | Поиск в этой теме |
| Опции просмотра | |
|