 21.11.2018, 02:26
|
#1 |
|
Участник
|
powerobjects: Uploading a File to Azure Blob from SSIS
Источник: https://www.powerobjects.com/2018/11...ure-blob-ssis/
==============  In today’s blog, we’ll walk you through the steps necessary to upload a file to Azure Blob from SSIS. Enjoy! 1. Open Visual Studio > New Project > Integration Services Project and click to create a new Integration Services Project. Rename the newly-created .dtsx file as needed. The initial screen will look like this: 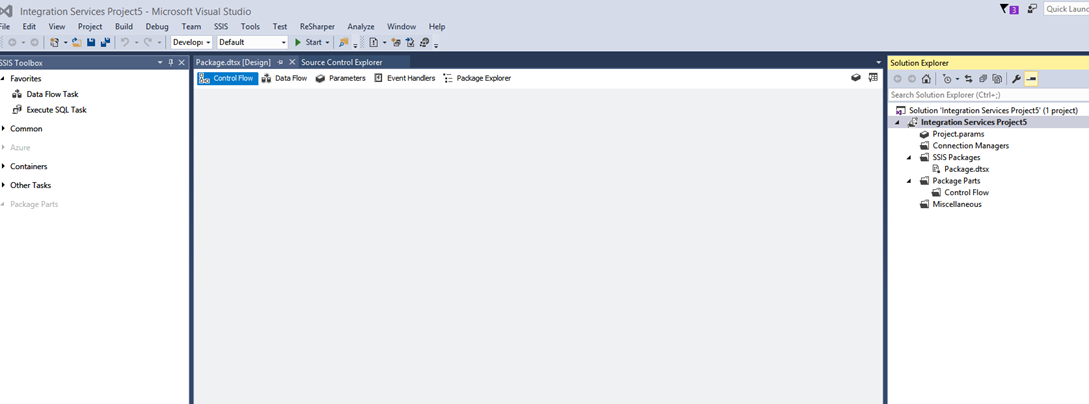 2. If the Azure tab under SSIS Toolbox is disabled, as in the example below, it means the Azure Feature Pack is not installed. It must be installed before we get access to Azure features. 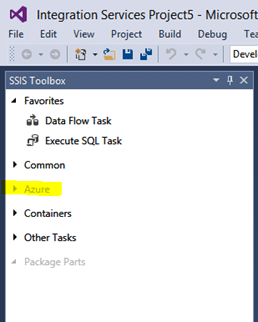 To download the Azure Feature Pack, click here. 3. Once downloaded, the Azure tab under SSIS Toolbox will appear in the UI: 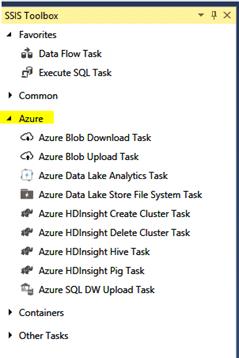 4. Drag and drop Azure Blob Upload Task in the control flow. Note that because it is not yet configured, SSIS will display a red cross mark, indicating error. Hovering over the error displays this: ‘Azure Storage Connection Manager is not valid.’ 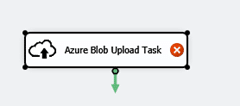 5. Open the Azure Blob Upload Task in the control flow reveals a few fields that need to be populated to connect to Azure. 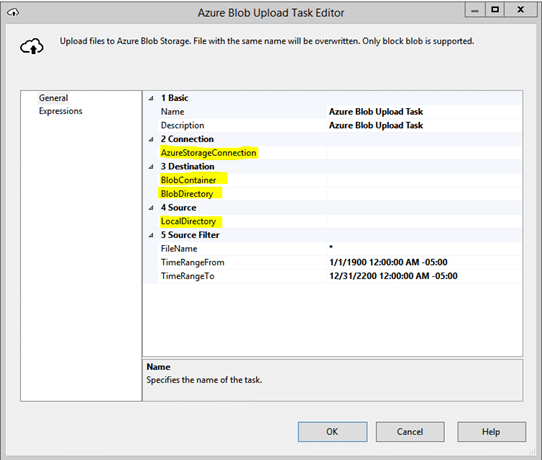 Let’s go through each of the five sections: 1 Basic – Here you can change the Name and Description as needed. 2 Connection – Clicking here reveals AzureStorageConnection. Click on it to bring up the Azure Storage Connection Manager Editor popup box.  As shown, a Storage account name and Account key are both necessary. To create these, go to the Azure portal and click Storage accounts > Add.  A popup box is revealed. Provide a name for the storage account and modify any other fields, as necessary. 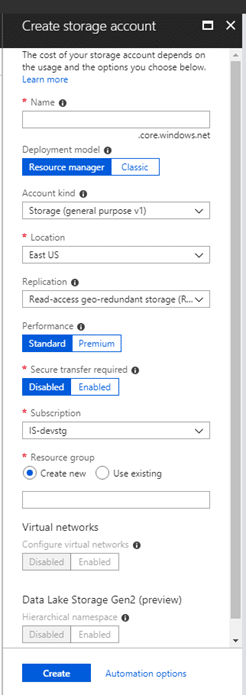 Once the storage account is created, select it in the portal menu. Under SETTINGS, click on Access Keys to find the key to connect to your storage account. 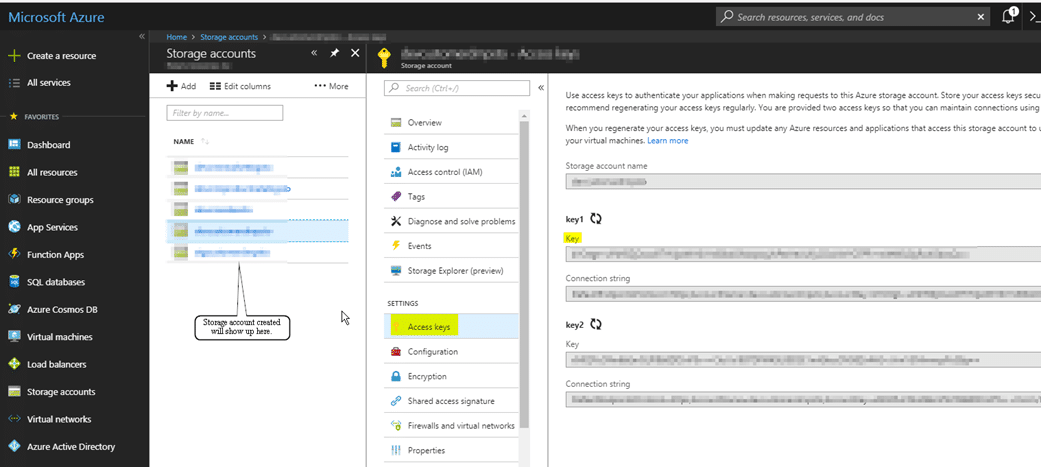 Back in the Azure Storage Connection Manager Editor, provide the information. When the correct information is provided, a Test cnnection will succeed.  3 Destination – Here you can do the following:
5 Source Filter – Allows you to provide the name of your file, as well as time ranges (optional).
 6. After everything is set correctly, run the SSIS: the job should complete successfully. 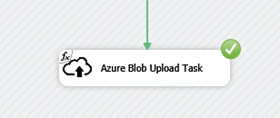 7. Navigate again to the Azure Portal and click on Storage Account. Select your container and then click Blob Service > Blobs to see your container. Click on it to see the files uploaded: 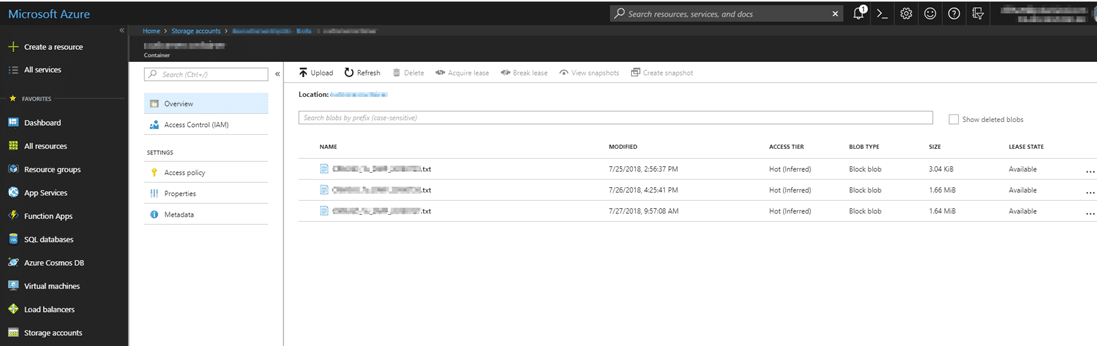 Hopefully this guide has been helpful. Be sure to subscribe to our blog for more Dynamics 365 tips and tricks! Happy D365’ing! Источник: https://www.powerobjects.com/2018/11...ure-blob-ssis/
__________________
Расскажите о новых и интересных блогах по Microsoft Dynamics, напишите личное сообщение администратору. |
|
|
|
|
|


 Линейный вид

